Ahhhh Halloween! My most favorite of holidays. Here are a few costumes from years past.
Halloween 2001 - Scooby Doo

Halloween 2005 - American Gothic

Halloween 2006 - Zombie and Scientist (I ran out of time that year)

This year I had a hard time deciding what I should be. I wanted a costume where I was something inanimate, so I finally settled on sushi. When I looked for ideas on the internet, I realized my idea was not that original. There were so many great ideas! There was a little boy who as a giant sushi
roll, a woman who dressed as
sushi, and finally the sushi hats in last year's Halloween Make:
Magazine. I liked the sushi hat idea the best since the woman who made the little boy's sushi roll costume gave instructions and it appeared that it would take a long time.
I do subscribe to Make: Magazine and in last year's special Halloween issue there were instructions on how to make the shrimp sushi hat. However, I liked the roe hat. So here are my instruction for making the roe hat.
------------------------------------------------------------------------------------------------------------
SuppliesHat Box
Small Christmas ornaments (not glass) or something small and round
Orange spray paint
Hot glue gun and glue
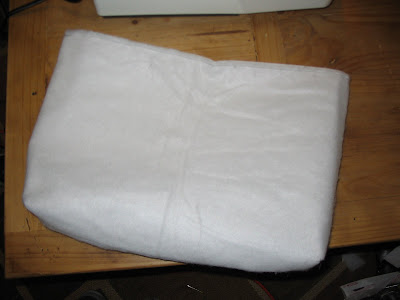
White cotton fabric
Polyfill
Green fabric (I used a green vinyl)
Black riboon
------------------------------------------------------------------------------------------------------------
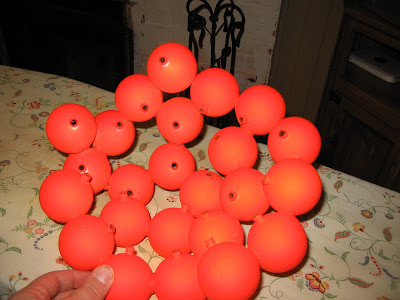
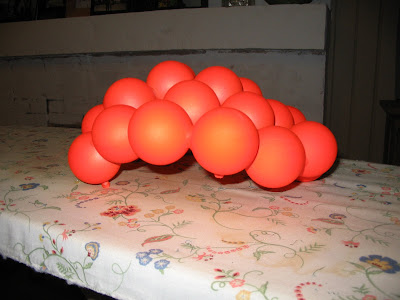
ProcedureStep 1: Glue together the Christmas ornaments with hot glue. You can use the lid of the box as a guide for the size of circle you will require. I found these small plastic Christmas ornaments at Hobby Lobby.
Step 2: Paint the roe orange.
Step 3: Cut a hole in the hat box slightly larger than your head. This took some effort even after I created a grid. The key is to slowly cut away the box and then fit it to your head as you go. Since your head is not really circular, you may find that you have a front and back to the hat. Be sure to mark the box if you do. I also found the box at Hobby Lobby.


Step 4: Line the hole with something comfortable. I chose to use backer rod that is normally used to fill cracks. I did have to split the backer rod with scissors so that it fit around the cut edge of the box. It was very comfortable to wear. Be sure to check that the box still fits on your head once the backer rod is in place. You can find backer rod at any hardware store.

Step 5: Cover the bottom of the box with the white cotton material. I glued the material onto the sides of the box with hot glue. If your head-hole is a little too large, the fabric will help to ensure that your head does not push completely through the head-hole.

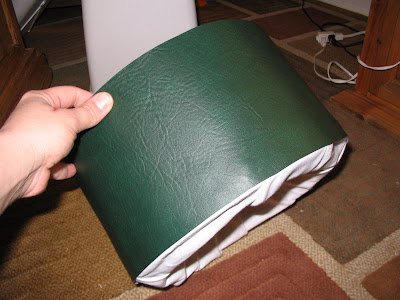
Step 6: Cover the side with the green fabric. I used this fabulous vinyl that I found at Joann's. It really looked like Nori.
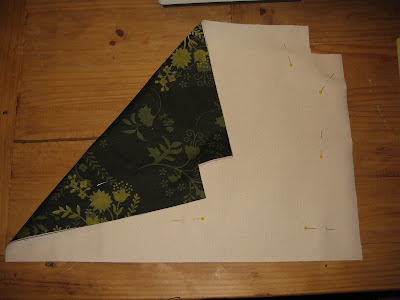
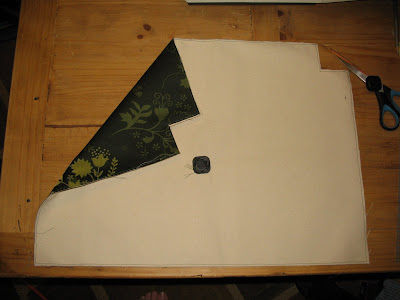
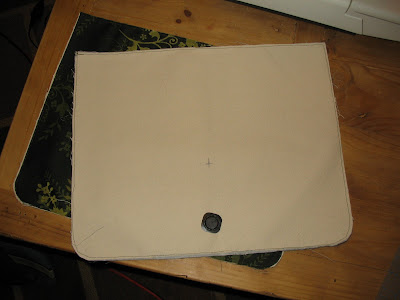
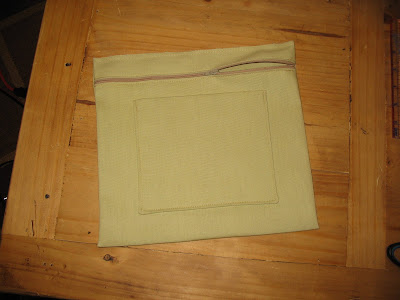
Step 7: Sew a round pillow that will fit into the top of the hat. This is what the roe will sit on. Stuff the pillow with the polyfill, but be sure not to add too much.
Step 8: Glue pillow into top of hat.
Step 9: Glue roe onto the top of the hat.
Step 10: Add ribbon to the sides of the hat by gluing it underneath the vinyl. Make sure to fit the hat to your head to find the most comfortable position before attaching the ribbon. You're done!

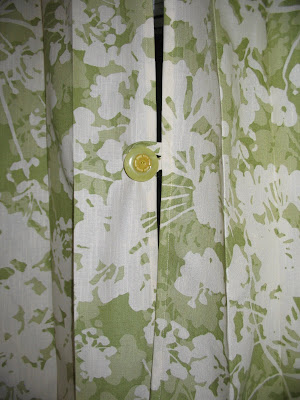
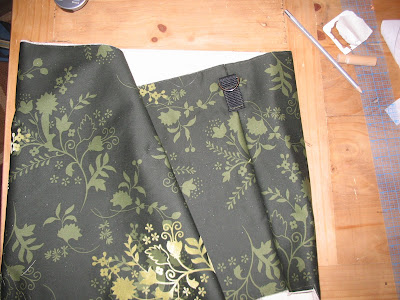
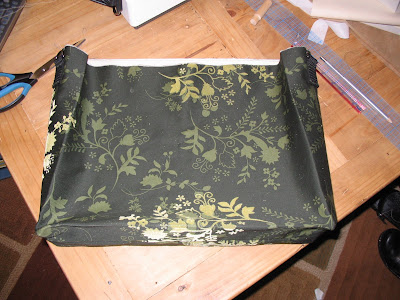
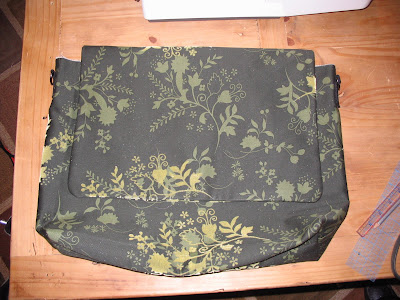
I also sewed a kimono since the hat makes more sense with the appropriate attire. I found the kimono costume from JoAnn's. It was Simplicity
4080 . This costume required a LOT of fabric. Five yards for the brocade, five yards for the lining, and then several more yards of a contrasting brocade. As sewers know, those brocades are not cheap! The length of this costume was also challenging. Since I did not have a table that was big enough to work on it, I did most of the work on the floor.
I forgot to get pictures of the final costume, so when I get the pictures from my friends I will post it then. Unfortunately, people kept wanting to touch the hat and it was ruined when I went out that evening.
We also carved our pumpkins. Here are the pictures:


They aren't really as good as last year's
pumpkins.


