
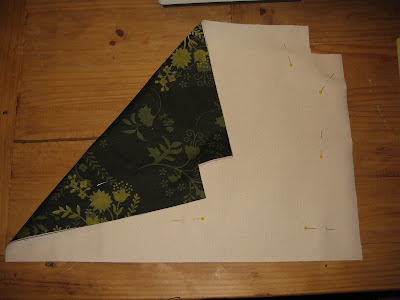
I found a pattern from Simplicity (Simplicity 4391) that I figured would work. It is always easiest to use a tried and true pattern before you go out on your own. I chose pattern "B" the messenger bag. The pattern looks great, but does not have enough padding. I also left off the embellishments on the exterior of the bag, since I had chosen a fabric that already had a busy pattern.
I chose upholstery fabric for both the exterior of the bag and the lining. Upholstery fabric has great designs and is very durable. Unfortunately, home furnishing fabrics are pretty pricey and often have minimums that exceed what is needed for most small projects. Luckily, I found the bag fabric in the bargain bin at my local Joann's Fabrics. The design was cute and the price was right. The lining was a cheap, coordinating home furnishing fabric from Joann's as well.
For the interfacing, I used a a thick neutral canvas. However, for padding, the pattern recommended stiff, non-fusible interfacing. I felt that this would be insufficient for protecting the computer. Instead I chose a thicker quilting batting. If I did it over again, I would probably recommend something even more heavy duty, such as a thick foam.
After cutting out the pieces instructed by the pattern, I began by basting the interfacing onto the fabric.
Then I added a magnetic clasp to the interior of the bag bottom and the bag lid. By sewing the clasp in now, it will be hidden by the lining and will appear to close the bag like magic. The magnetic clasps are a little difficult to sew on, since you have to sew through the plastic, and you need to sure that the measurements meet up accurately. If you want a bag that is more adjustable, the pattern recommends a series of Velcro strips to close the bag. This is handy if you are not sure how full the bag will be. **
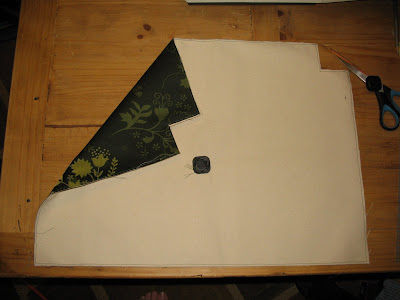
** For those that might be concerned about using a magnet near their computer, this is a very weak magnetic and should not damage the hard drive.
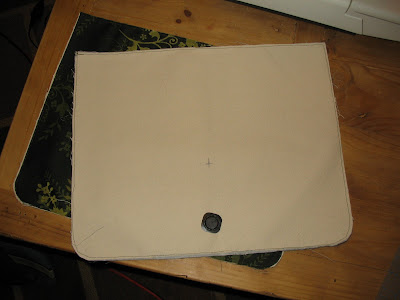
The next step is to sew the sides of the bags together and secure a small piece of strapping with "D hooks" at each seam. If you are using nylon strapping, you can melt the ends to prevent fraying.
Sew the bottom of the bag together and press in the appropriate folds with your iron.
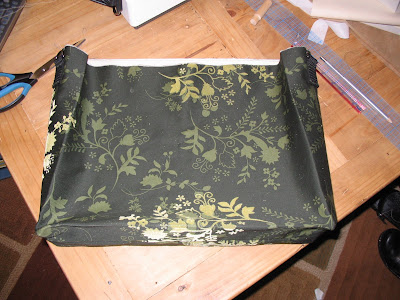
Sew the "lid" of the bag onto the bottom.
Set the bag aside and begin sewing the interior pockets. This pattern has a fantastic pocket configuration, with one pocket that zips up and can hold your mouse, cords, etc...
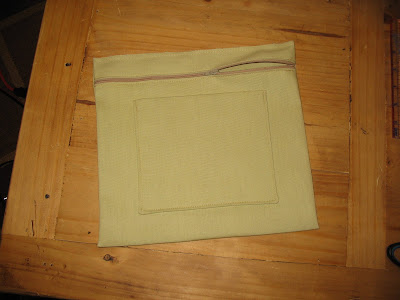
Attach the pocket to the lining and attach the lining to the bag.

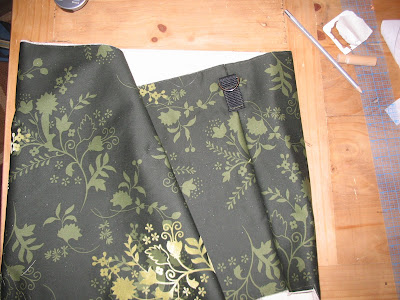
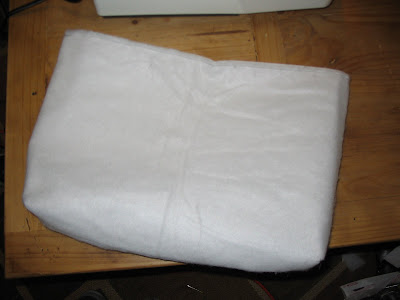
But wait! Before you sew it all together, you should add the lining. As I said before, I chose to used a thick quilting batting. However, I would use something even thicker in the future, such as foam. If you are using something this thick, you should adjust the size of the lining, so that there is not a lot of slack in the interior of the bag.
I sewed the lining together, then stuffed it between the lining and the exterior of the bag. Here is a picture of the lining before it was put into the bag.
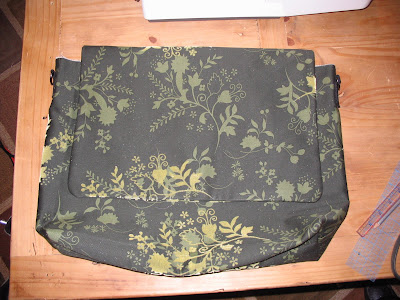
The final step is to add the bag strap.
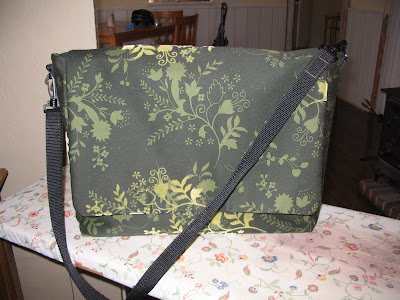
Here is the finished product...
3 comments:
Hi, I am Elisa from Venice. You are made a beautiful job. I will make this bag whit wale Corduroy. What do yau think?
Bye, Elisa
I think corduroy is a great idea! I set my bag on the floor a lot so white might get a little dirty, but the most important thing is a fabric that is durable. Also make sure that you add extra padding! Good luck!
Hi! The bag is wonderful! Unfortunatly the pattern is no longer available :-(
Marianna
Post a Comment